1. Install stabilizers

2. Attach 6x M2x3.5mm threaded spacers to PCB using 6x M2x3mm screws

3. Attach plate to PCB using M2x3mm countersunk screws

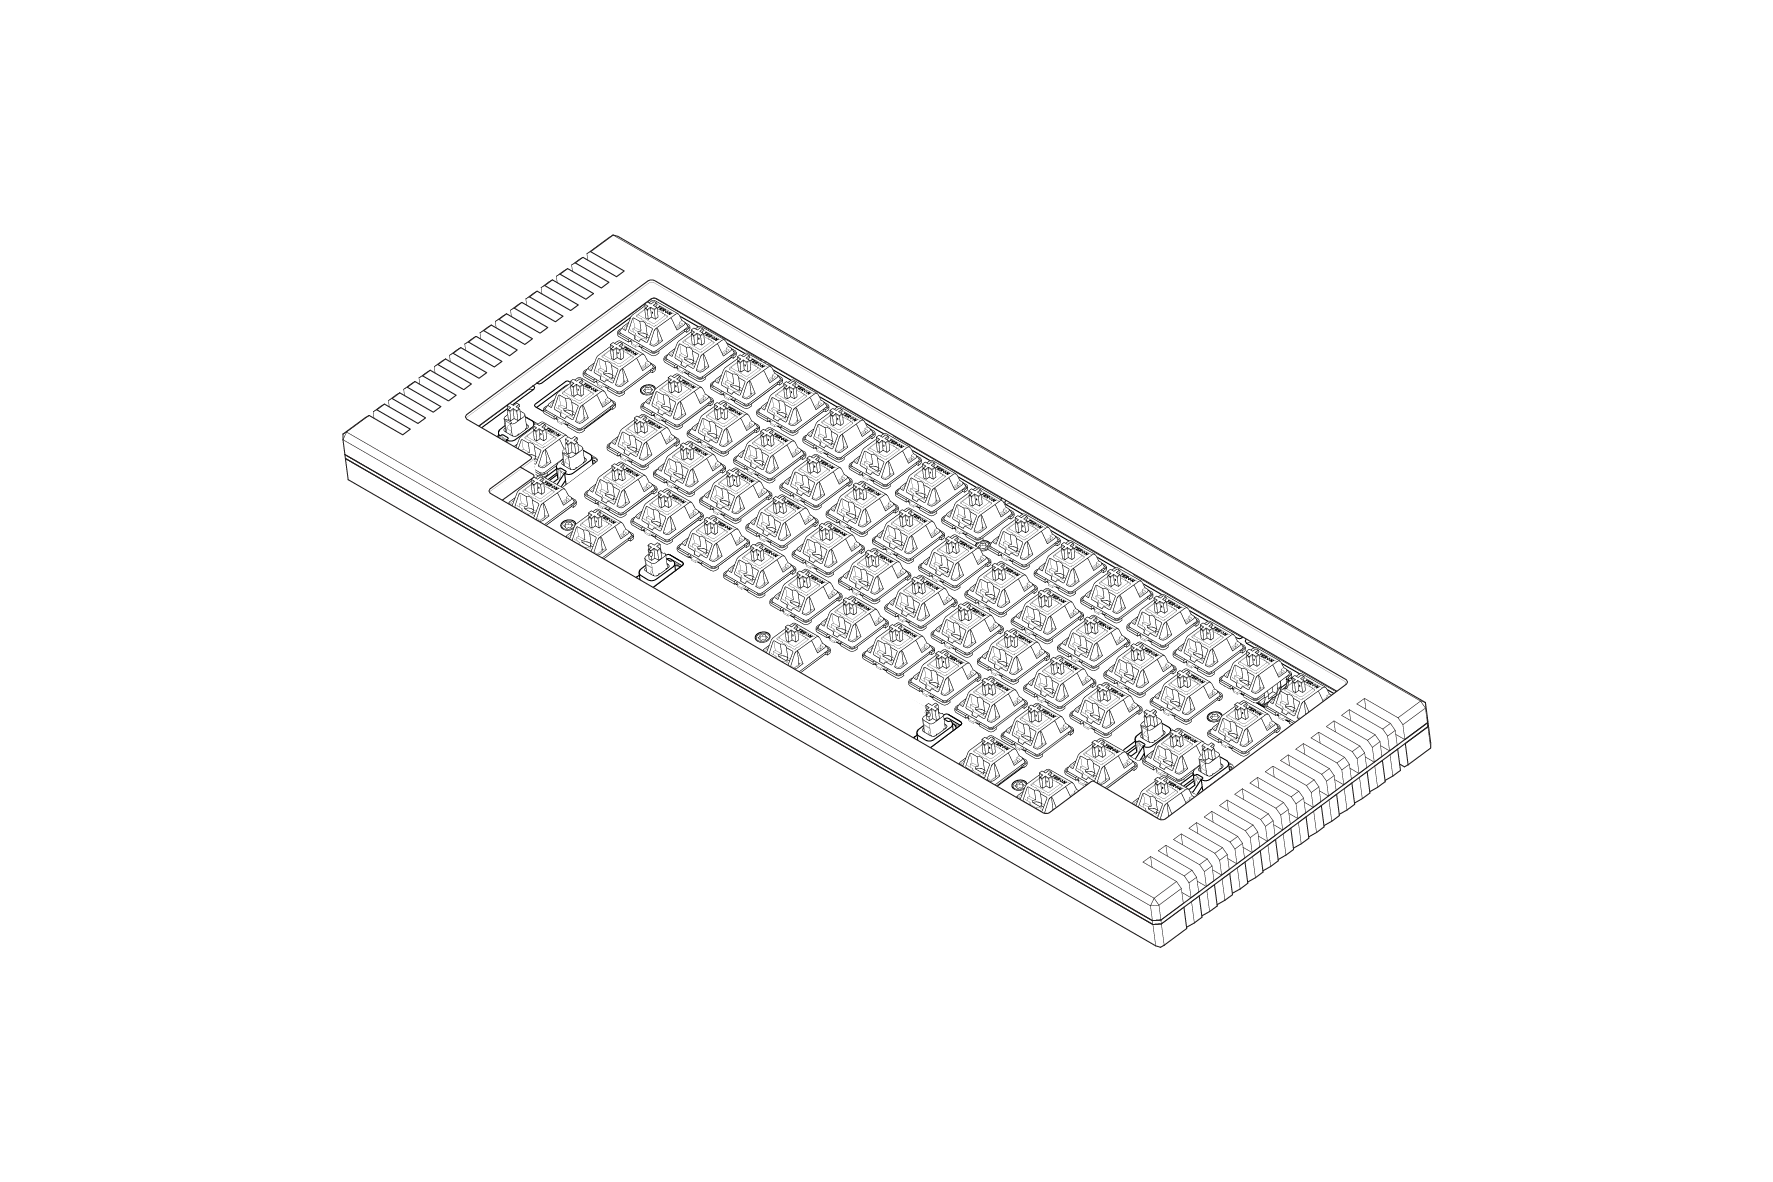
4. Install switches into plate. Be careful not to bend the outer edge of the plate.

5. Install foam pads to the top part

6. Attach plate/PCB subassembly to the top part using 4x M2x4mm screws. The foam pads will make the plate bend slightly in the middle, this is normal.

7. Install daughterboard USB-C PCB with cable attached, using 4x M2x4mm screws

8. Connect other end of cable to the main PCB

9. Ensure cable is in the recess of the bottom part while putting top and bottom parts together. Attach using M3x12mm screws.

10. Install rubber feet. Do not stretch during installation. Start at one end and slightly compress towards that end if the feet are slightly too long

11. Check the leaf spring plate mount is working by pressing firmly on keys on the edge, in the middle of the leaf spring (where it joins to the inner part of the plate). If there is no movement (i.e. no flex), check if the cable is not being pinched.