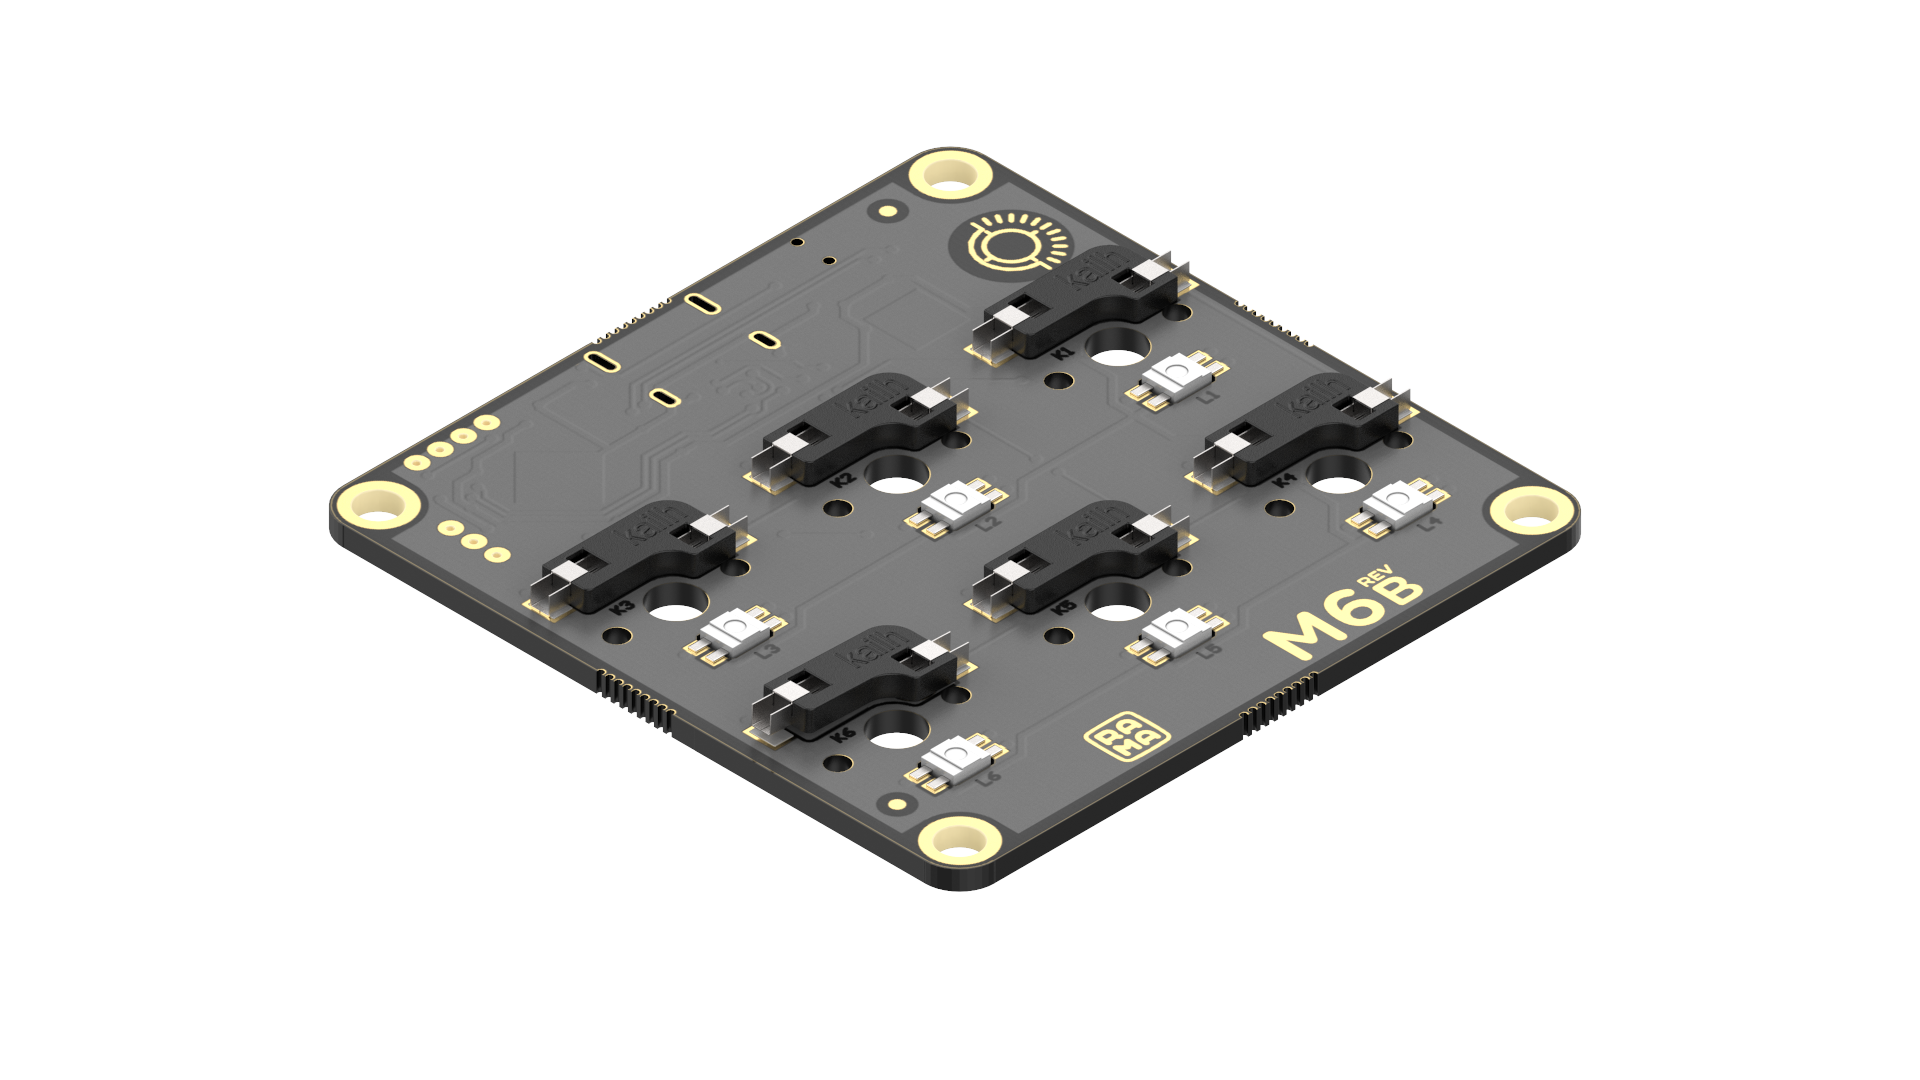
Fixing loose hotswap socket
For this guide, you’ll need a soldering iron and solder.
Issue: The Kailh socket has either become loose or has been removed from the board.
STEP 1
Heat up the pad the socket is sitting on and the pad on both pins 1 and 2 on and off until the hotswap starts to settle in place, place constant soft-pressure downwards on the socket as you heat up the pad/pin.
If the socket has been completely removed from the board, place the socket in place and move straight to STEP 2.
STEP 2
As you heat up the pad/pin add a tiny amount of solder to ensure a good connection to the board and a strong hold. There may already be sufficient solder already on the pad which can be heated to bond the socket.
Be mindful to avoid adding solder to the contacts that touch the switch pins as seen in the image below.
Once the socket is flush against the PCB and the solder is plentiful, test the connection as described in the following guide:
If the pad from the PCB has been torn off, please contact support@rama.works
Before installing the PCB into the unibody enclosure, you may wish to test and validate the PCB by inserting the switches directly to the PCB first as pictured below. You can test your keyboard by using this handy tool located at: https://elitekeyboards.com/switchhitter.php


