Certain keys not registering during installation
ISSUE: After installing the PCB then inserting the switches through the plate into the PCB and connecting to a PC, certain keys do not register on keypress. You can test your keyboard by using the inbuilt KEY TESTER utility within VIA: caniusevia.com

STEP 1
First remove the switch on the key not working (by using a switch removal tool) and inspect that the two metal pins protruding from the base of the switch are completely straight and do not have any bends (may even be a small bend at the very end of the metal pin).
BE SURE TO INSERT SWITCH COMPLETELY STRAIGHT INTO THE PLATE / PCB! Insert slowly and feel switch pins entering the socket (push socket towards switch simultaneously), insert middle columns first.

Pictured: Underside of a Kailh BOX switch, other switches such as ones from Cherry or Gateron will look different but the pin location will remain the same.
If you inspect that the switch pins are completely straight and have no bends, continue to STEP 2. If the switches are bent, use a tool such as pliers to make the pins completely perpendicular to the base of the switch to match the image above and retest the switch.
STEP 2
First confirm the PCB is not the issue by using a conductive tool (Paperclip / Keycap puller etc) to short the pins across the suspect hot-swap socket whilst connected to a PC to confirm key-press, like so:

NOTE: Be mindful not to touch any other components when shorting the hot-swap pins, aim only for the metal ends on either side of the hot-swap socket. Anything else may damage the PCB.
If the key registers correctly after shorting, the PCB is not the issue and continue to STEP 3. If no key press registers contact support@rama.works
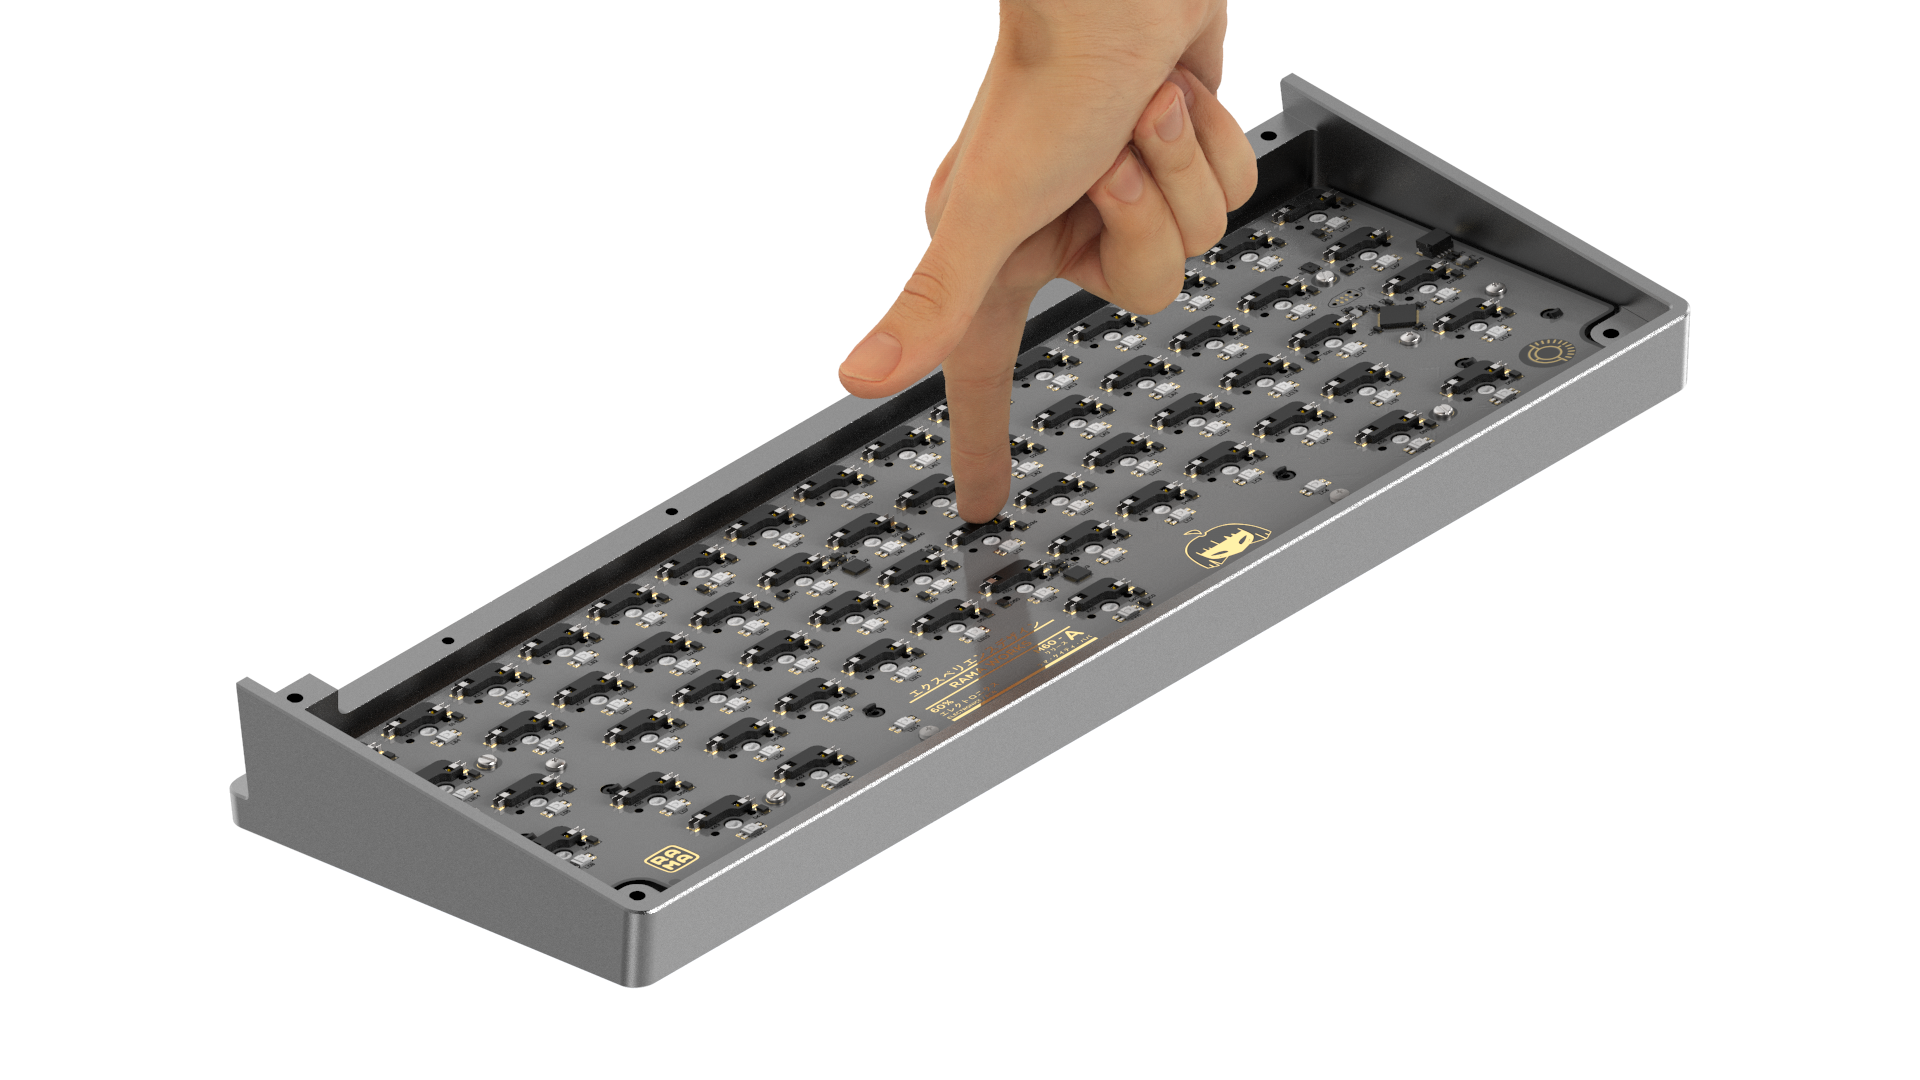
STEP 3
Sometimes, during installation, the PCB can bow outwards, away from the switches which causes it not to socket correctly. This can be easily fixed by pushing on the affected areas downwards. Push down until you can feel that it can not be pushed any further. Note to not push on any of the sensitive components like the diodes, instead push down directly on the hot-swap sockets like so (DO NOT PUSH HARD!):
Another method is to not screw the PCB to the enclosure, but instead slowly insert switches and hold the PCB at the same time to ensure they are seated. Place the central switches of the board first to secure the PCB in place then follow with the remaining switches around the outside. You may push the socket of the switch you are inserting. Screw PCB in once all switches are in and confirmed working. Avoid touching components during any handling of the PCB.
Repeat these steps until a keypress registers, the image below shows how a correctly seated switch should look compared to a non-seated switch:

If the keyboard continues to not register keypresses after it is inspected that the switch is seated correctly (both pins are visible in the socket) and shorting the pins registers a keypress, the switch may be faulty and need to be replaced with a new one.
Here is a video showing how to fix non-registering switches:
Here is a video showing how to correctly seat a switch into a hotswap socket: